
Setting up a Dev Container in Visual Studio Code
To ensure our agents can execute commands only in an isolated environment, we use Dev Containers in Visual Studio Code.
Part of the series
Create a complete team with agentsIn this post, I’ll show how to use Visual Studio Code Dev Containers to isolate an agentic team inside a controlled development environment. Because the container only has access to the files and tooling you expose to it, it reduces the risk of an agent reading sensitive data or modifying unrelated files on your machine.
What are dev containers
First, what are dev containers?
According to the Visual Studio Code documentation, a dev container lets you use a container as a full-featured development environment. Your workspace files can be mounted, copied, or cloned into the container, and most extensions run inside the container as well (Visual Studio Code, 2026). This makes it easier to share a consistent development environment across machines and team members.
When you open a local project in a dev container, Visual Studio Code typically exposes only the project folder to the container by default. If you need access to another local folder, you can add an extra mount to your configuration (Visual Studio Code, 2026).
Setting up
To make this concrete, I’ll use Daily note calendar as the example project. Open it in Visual Studio Code and install the Dev Containers extension.
Create a new file called devcontainer.json inside the .devcontainer folder at the root of your project. In the case of Daily note calendar, I based the configuration on a Node.js image because the plugin is written in TypeScript and requires Node.js.
{
	"name": "Obsidian Plugin",
	"image": "mcr.microsoft.com/devcontainers/typescript-node:4-24-trixie"
}
After creating the .devcontainer/devcontainer.json file, run the Dev Containers: Open Folder in Container... command to open the workspace in the container you just configured.
If this is the first time you open this configuration, Visual Studio Code may take a while to pull the image and create the container before it connects.
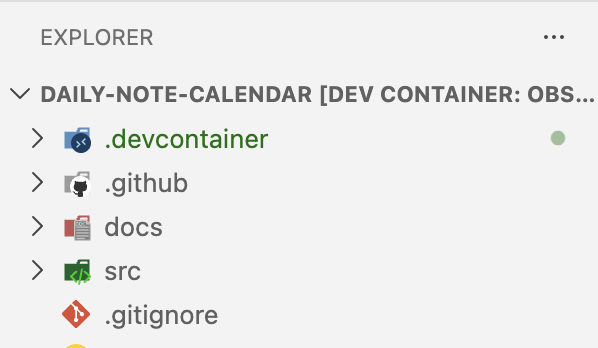
Once that process is complete, you should see that Visual Studio Code is connected to the dev container in the file explorer.
Validating the container
To confirm that the terminal is running inside the container rather than on your host machine, open a terminal in Visual Studio Code and run pwd. In this setup, the project is mounted under /workspaces/daily-note-calendar.
To make sure the container is usable, install the plugin dependencies with npm install.
After running npm install, you should see a node_modules folder appear in the file explorer. That folder contains the installed dependencies.